The next steps in honey extraction
Honey harvesting is a multi-step process. Start with removing full trays from your hives, brushing off the bees and bringing them into your extraction space. Our previous blog takes you through those steps.
Next, it’s time to begin extraction. In our latest video, beekeeping hobbyist Sarah Cross walks you through the process. Watch her video here.
Bee-proof your space
Make sure the room you are using for extraction is completely bee-proof, with all the windows and doors tightly shut. The smell of the honey will attract bees so you’ll need to be careful. To allow for any honey spills or drippage, set up a tarp on the floor and a drip tray underneath the honey box.
Double-check your trays
Go through your honey box again to double-check that the honey is ready to extract. Are the trays full of capped honey or is there too much nectar? Honey is 20% water and 80% sugar so it’s very high in sugar. Nectar has a much higher water content and if you put it into the extractor, it will dilute your honey.
You can make your own judgement about nectar levels in your honey extraction, but here are some examples:
1.This side of our first tray has a lot of beautifully capped honey and only a small portion on the edge that is still nectar. If you flip it over (right), you will see the other side is completely capped honey, no nectar. As there is only a tiny proportion of nectar on the entire frame, we can judge that it won’t make too much of a difference and choose to extract it.


2.This frame is fully uncapped. For a commercial operator, there is definitely too much nectar present. However, you could choose to use it if you aren’t worried about diluting your honey.


3.This frame has a few drone brood cells down the bottom. Aside from that, the rest of the tray is all beautifully capped honey. You could pull the drone cells out, or make sure not to uncap them. However, if you do mistakenly extract some, they should be removed in the filtering process anyway.

Starting the extraction
Removing the wax cappings
Before you put the trays into your extractor, you will need to remove the wax capping off the top. This can be messy, so make sure you have a drip tray and a small piece of wood to keep the frame steady and raise it slightly. Hold the tray upright on the drip tray, sloping it down so you can easily catch all the wax.
You can use a standard kitchen knife to gently remove the caps. However, this could be more time-consuming than using an uncapping tool. Sarah has shown us a few options:
This tool scrapes off the wax capping from your honey. Start at the top of the tray and firmly pull the fork downwards. You’ll need to continue to scrape from top to bottom until all wax caps have been removed.

You can also use a heated knife. These are great as they do all the work for you by melting and cutting the wax off at the same time. Work upwards, being very careful as it’s quite hot.

Here is a completed tray and as you can see, the wax capping has been removed, leaving the honey behind.

Note: fewer frames in your honey boxes make uncapping easier
Uncapping is much easier when the honey is set higher than the frame, rather than level or indented. To make this happen, put only eight or nine frames in your honey box. Your bees will draw the wax out to meet the other frames.

No need to worry – it will all be filtered
Whichever method you find easier, you will get the hang of it after a while. Just remember that you don’t need to remove every single fragment of wax, as the trays of your uncapped honey will go into the extractor and any remaining bits will be filtered out there.
Part 3
Removing honey from the wax scrapings
Beekeeper Sarah Cross now walks us through the next step in our honey extraction process – removing all the honey from your discarded wax cappings. Watch the videohere.
After uncapping your frames, you are left with a big bucket of wax caps and honey. In an effort not to waste anything, you can separate the wax from this honey. Here are two easy options for you to try.
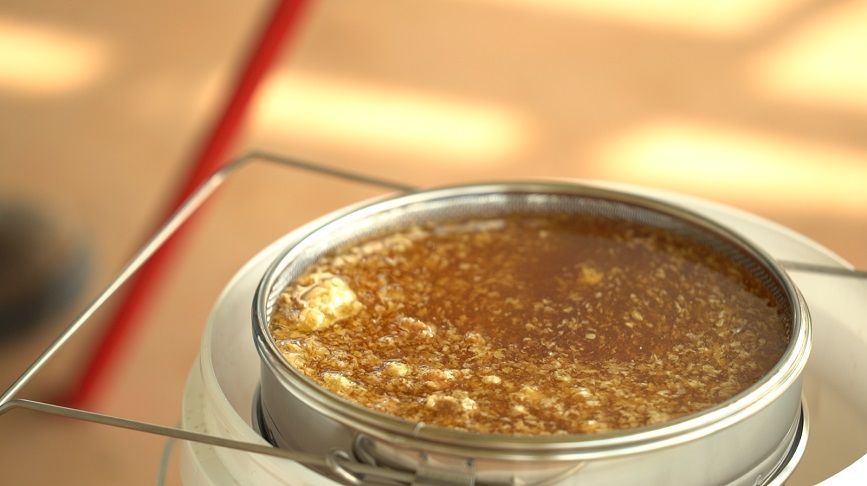
1.Use a honey bucket with a small tap at the bottom. Place your honey and wax in and leave the tap running with a large jar underneath. It has to be in a warm place but more importantly, a bee-proof place. Over time, the lovely honey will drip down and leave the wax behind.
2.Use hot water. A much faster technique, where you will have to heat your honey, is to boil a pot of water. Place a bowl on the top of the water and put the wax-honey mixture into the bowl, warming the mixture and melting the wax. The wax and honey separate, with the wax cooling and setting on top. Just lift it off and you’ll have the honey underneath.
You’ve removed your wax and collected excess honey – now comes the next step in the extraction process, where your honey is filtered and jarred.
Take a look at our next blog for step-by-step instructions