Harvesting Your Honey – a Step-by-Step Guide
Are you ready to start harvesting all the delicious honey from your beehives? When you first start it can seem complicated, but we’re here to help. One of Ecrotek’s hobby beekeepers has filmed a video tutorial to take you through the steps. Watch it here to see the process in action.
Note that the hive being worked with is three boxes high and doesn’t have an excluder. This means the queen can go through all three boxes and lay brood.
First step – check how much honey is available
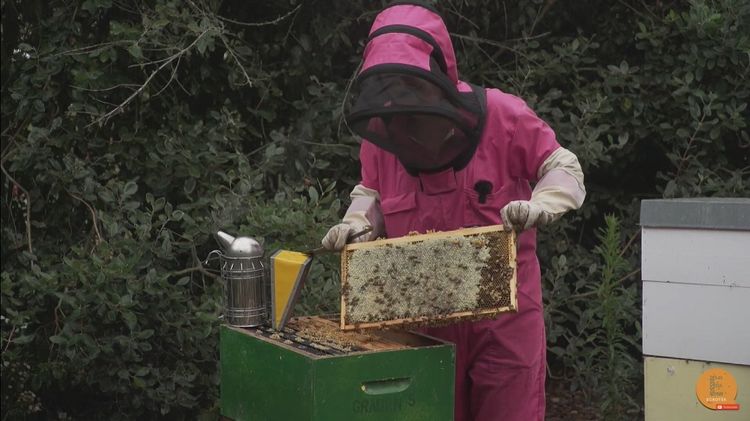
Pull out each frame and check that most of the honey is capped and there are no drone cells. If there is too much uncapped honey it means there is still nectar and water inside, which will dilute the honey. Only harvest the tray if most of the honey is capped.
This frame can be harvested as it has around 90% capped honey.
This frame has too much uncapped honey, so we need to put it back.
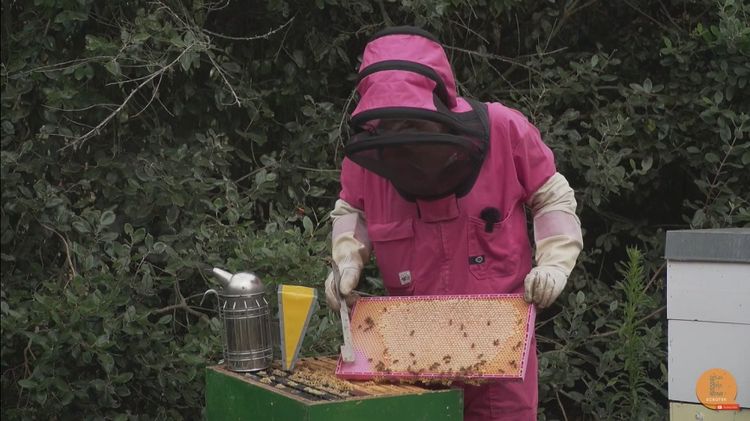
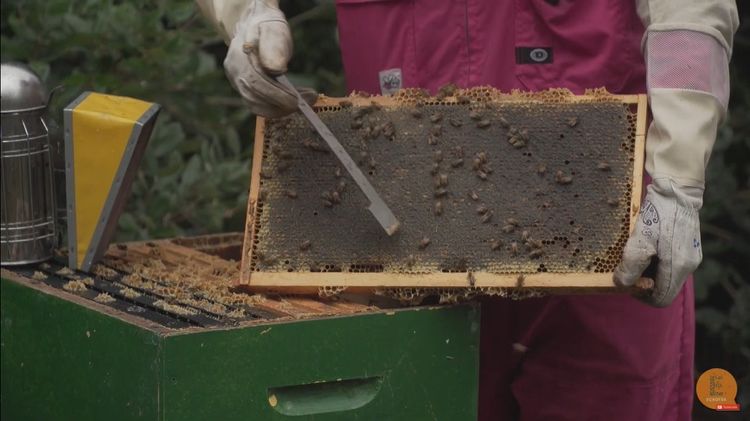
This one is perfect to harvest as it is almost completely capped honey. The reason it is a brown colour is that it’s a bit older. The bees have had more time to walk over it and make it dirty with their feet – nothing to worry about!
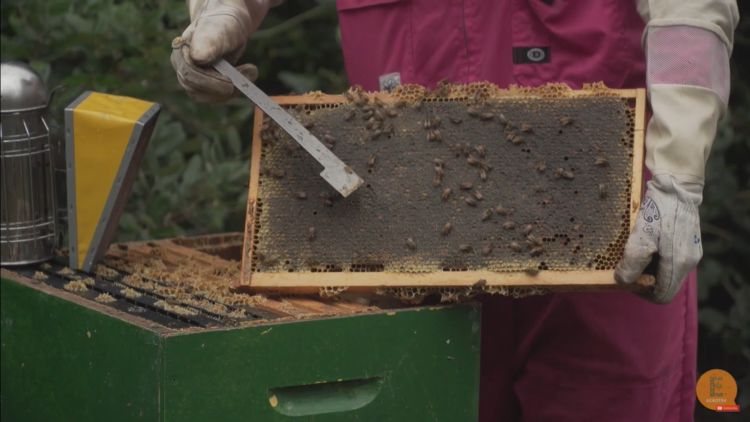
Here is a tray with drone cells down the bottom. It will need to be put back to wait for the eggs to hatch before harvesting.
After a full check, we’ve established that we have six good capped frames. Now we need to take those frames out and make sure there are no bees on them before extracting the honey.
How to remove the bees
Option 1 – bee brush
A popular way to remove bees from your honey tray is to use a soft bee brush. You will need to work quickly so the honey smell doesn’t attract other bees and there is no robbing.
- Prepare an empty box for your trays.
- Remove one tray and gently brush the bees back into the hive.
- Place the bee-free honey tray in your prepared box.
- Repeat for all the trays.
- Quickly take your box of trays inside for extraction.
Option 2 – escape board
If you have a few hives or you find that your honey box is packed with bees, you can try placing a bee escape board between your honey box and the brood box. It allows the bees to leave the honey box, but they cannot go back in. This will take a few days once inserted but will mean you have a relatively empty honey box when you harvest.
- Place the escape board on top of the brood box, and make sure the hole is facing upwards.
- Keep your entire hive secure, with no holes anywhere for the bees to re-enter.
- Make sure the lid is flush with no wax in the way.
- Come back and harvest in a few days.
Option 3 – blower and stand
Another way to remove the bees, especially if you have several hives, is to blow the bees off your honey box back into your hive. Some beekeepers leave the honey box on the hive, make a gap between the trays and blow the bees straight down. However, this is quite harsh and may harm the bees.
To avoid this, consider using a blower stand as well. The stand sits in front of the beehive and provides a slanted ramp the bees are blown down, so they slide back into the hive.
- Put the stand in front of the hive.
- Lift your honey box onto the ramp.
- Quickly replace the lid on the hive to contain the bees.
- Use lots of smoke to calm the bees.
- Take one frame out of the honey box to make some room.
- Blow the bees out of the honey box, down the ramp and back into the hive.
Blowing the bees may cause a ruckus but if you have a lot of hives, it’s much more efficient.
Be careful of spillage
Whichever method of bee removal you choose, make sure to take your honey trays into a bee-proof room for immediate extraction. Be very careful throughout the entire process, so you don’t drip or leave honey anywhere. The smell of the honey will attract robber bees, which can endanger your hives.
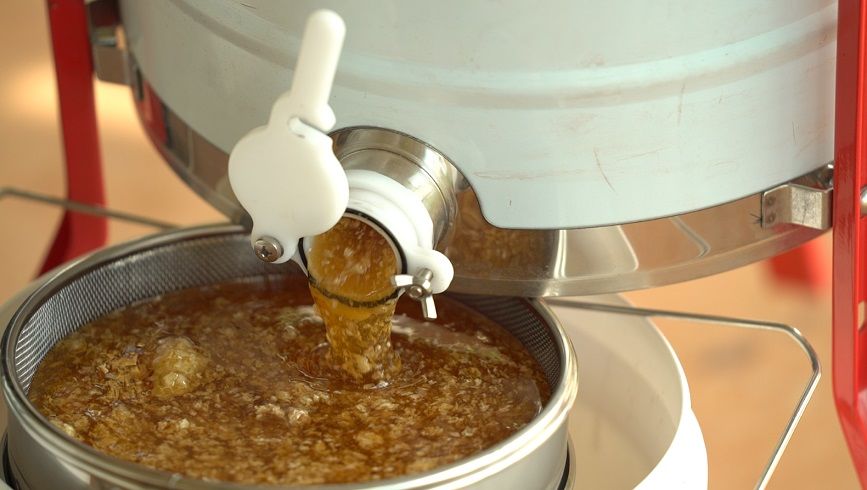
Once your honey frames are ready, you’re halfway there – next, comes the extraction process.